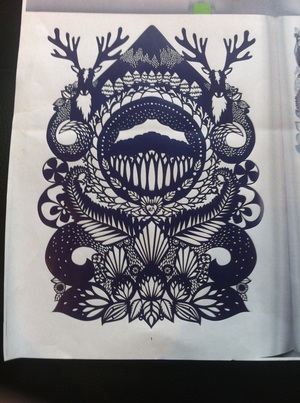
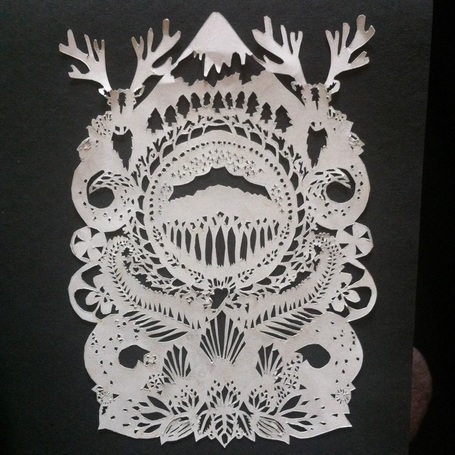
I don't know who the original artist is, I photocopied this design out of a book thinking it would be an interesting piece to do.
This time I decided to take step-by-step photographs of my cutting the design.
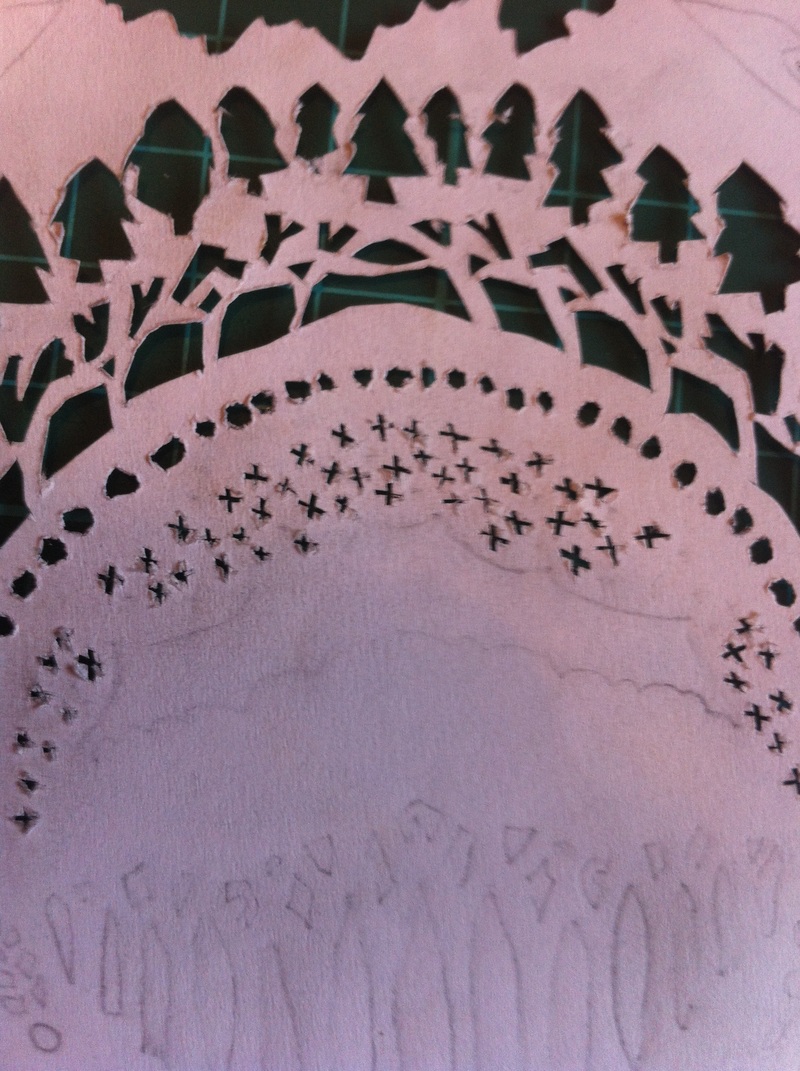
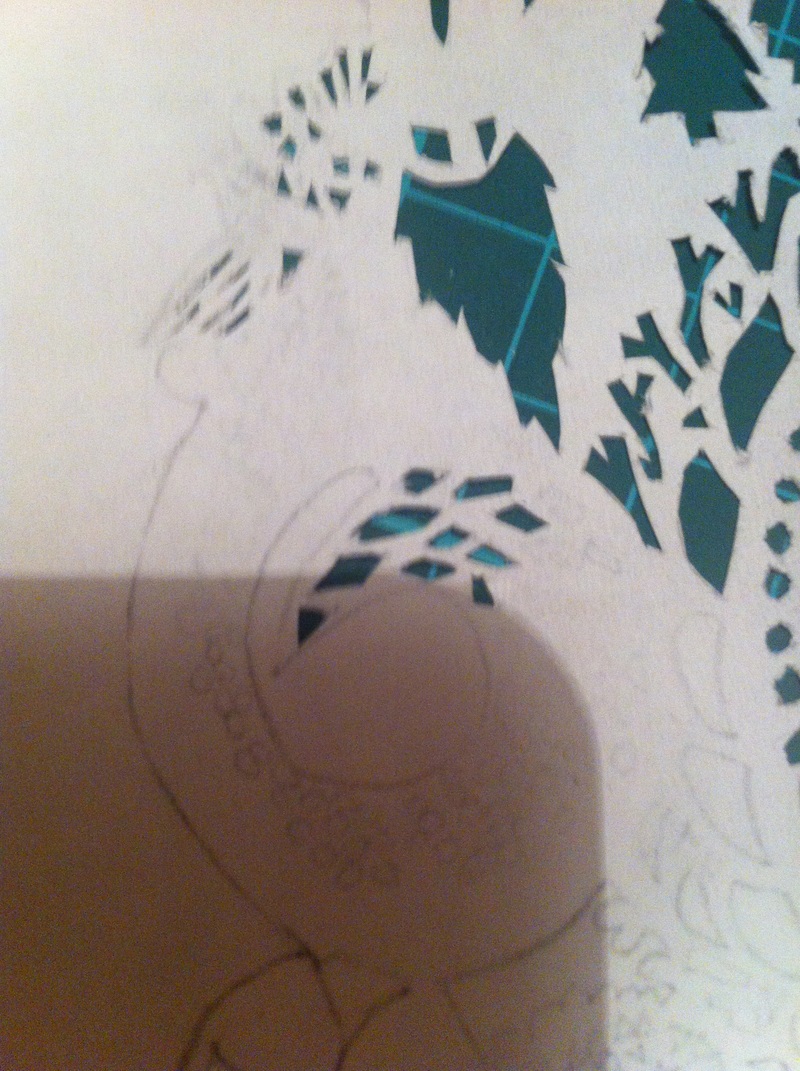
To cut out the design, I needed to cut out all the white bits.
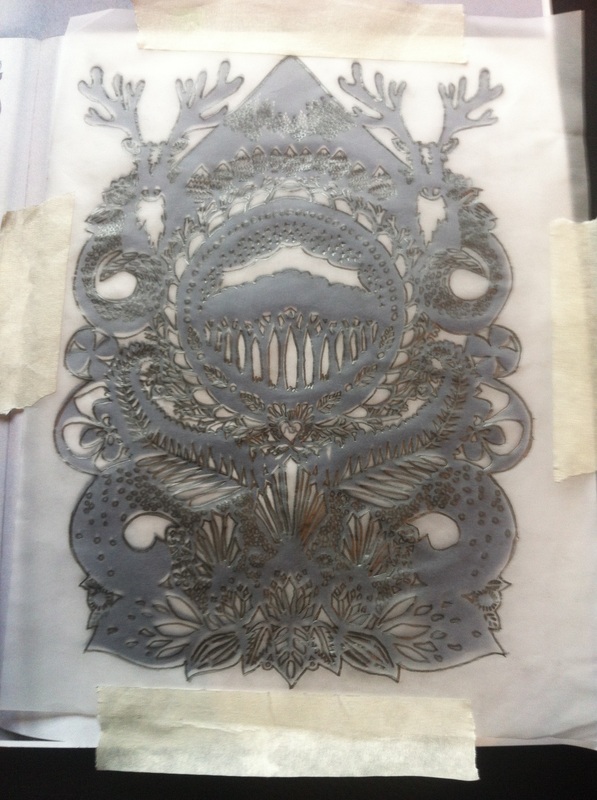
The first step is to trace the design. Once I traced it, I flipped the tracing paper round and retraced it onto the white sheet of paper that I wanted to use. This way the design will be backwards, which is an good thing as we will turn it around at the end and there will be no pencil marks.
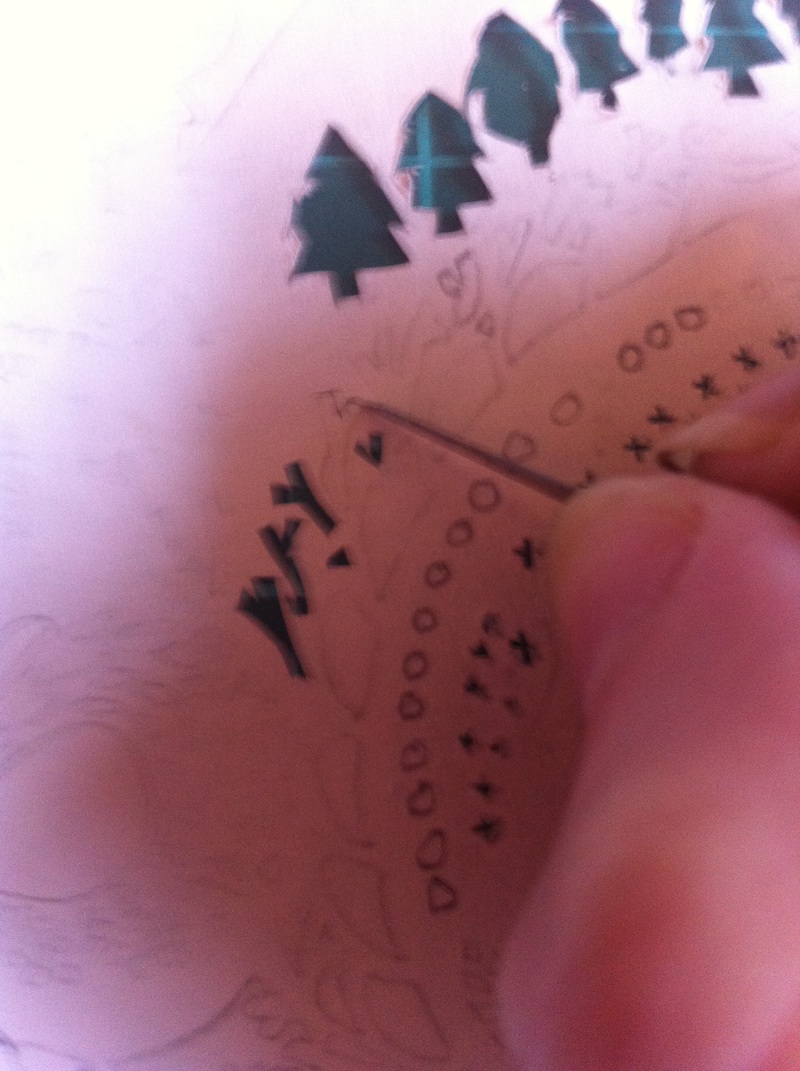
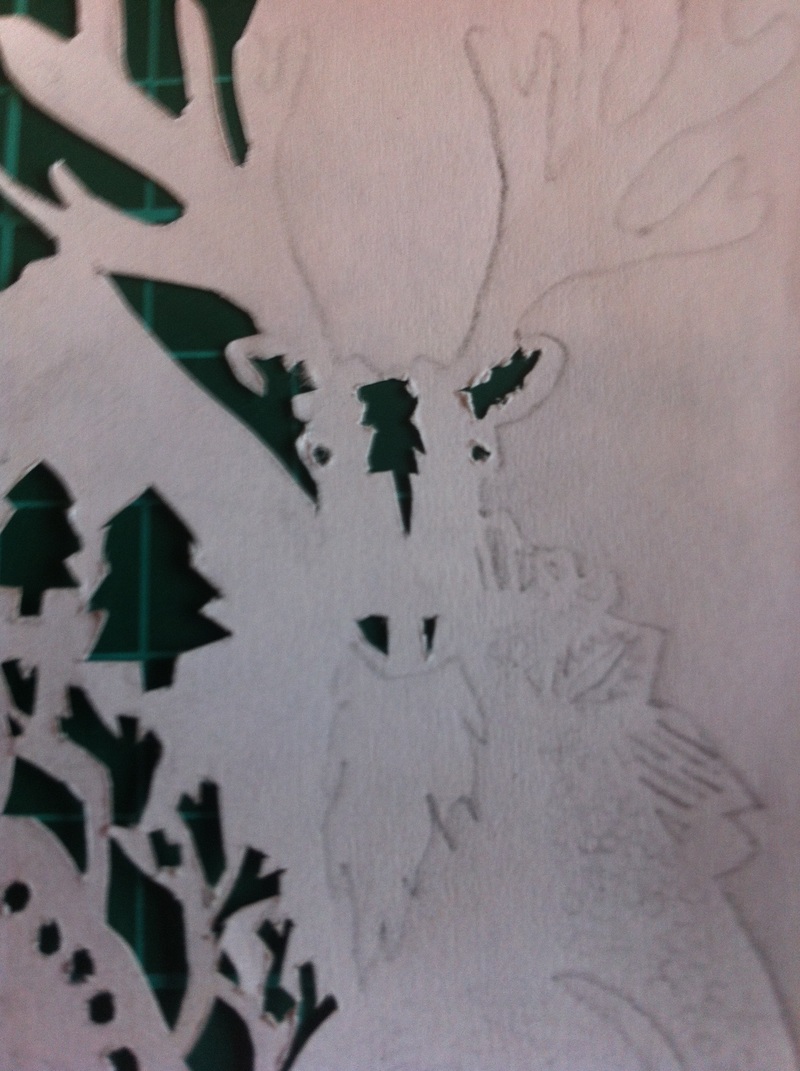
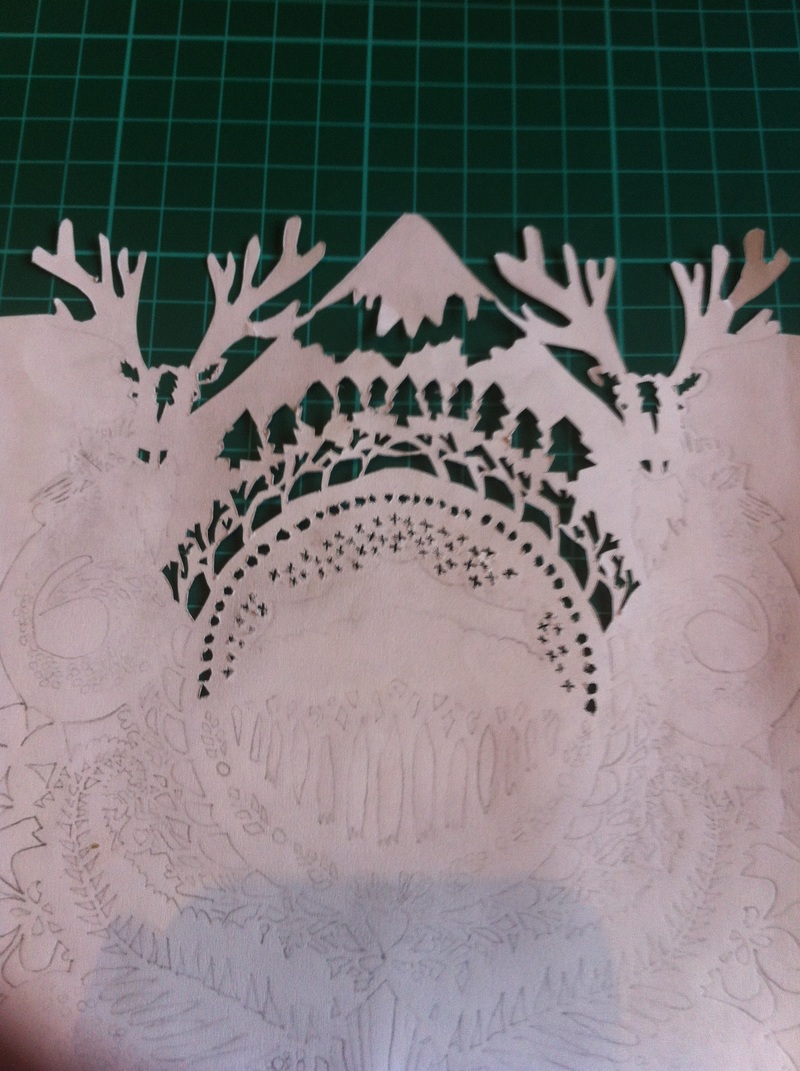
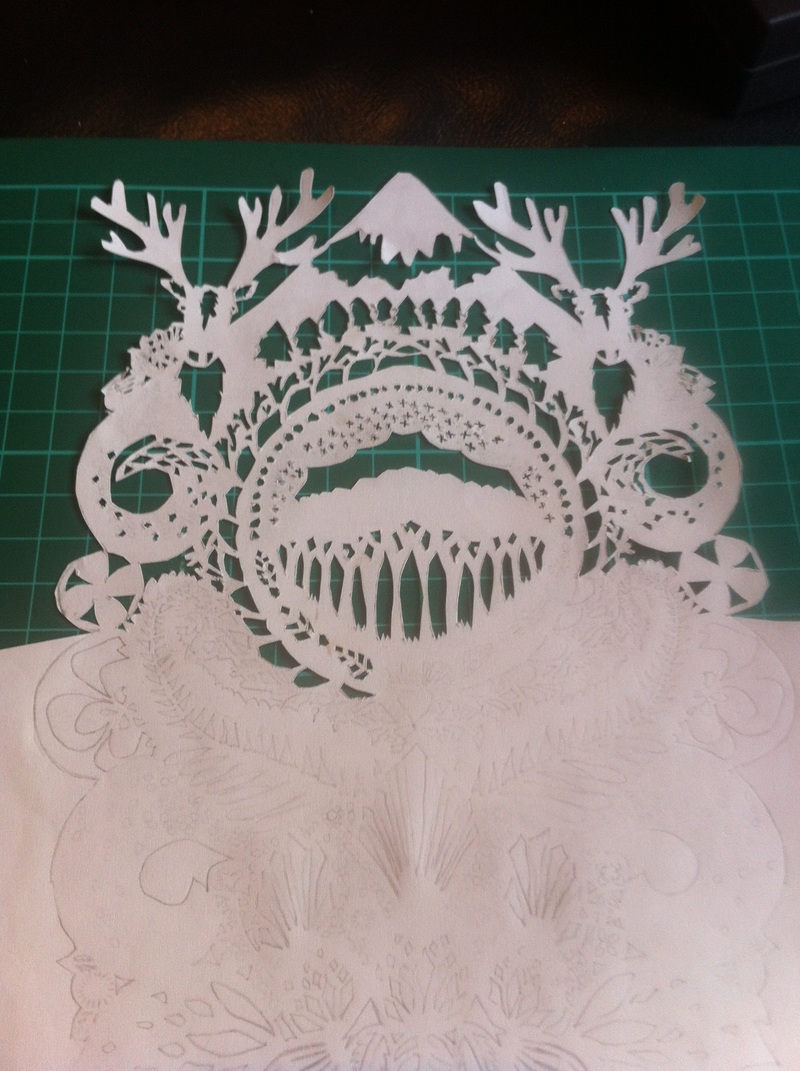
I started in the top middle bit, cutting out all the stars, then moving up to the branches and Christmas trees. Working my way up and around the papercutting slowly took place.
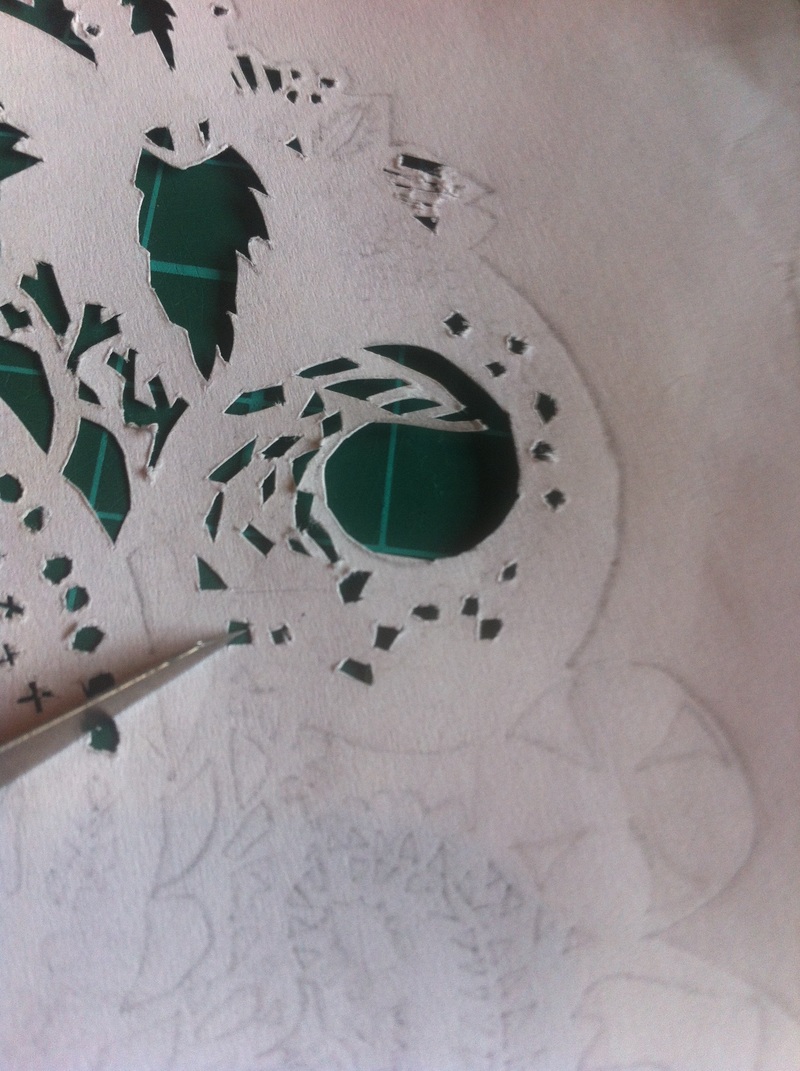
I always started with the smallest most intricate shapes, cutting the bigger pieces out last. This way it stopped me from tearing up the paper.
When the shape was quite round, I would move the paper around instead of the scalpel. This would make the cut more smoother.
Once this was finished I mixed PVA glue with water until it turned translucent and runny. I then used this to glue the piece onto a jet black piece of paper. Product complete :)

 RSS Feed
